

Hey there! As a supplier of silver mirror glass, I've had the pleasure of seeing this beautiful material transform countless spaces. One of the most popular applications for silver mirror glass is on partitions. It not only adds a touch of elegance but also makes the space look larger and more open. In this blog, I'll walk you through the process of installing silver mirror glass on a partition, step by step.
Step 1: Gather Your Materials and Tools
Before you start the installation, you'll need to gather all the necessary materials and tools. Here's a list of what you'll need:
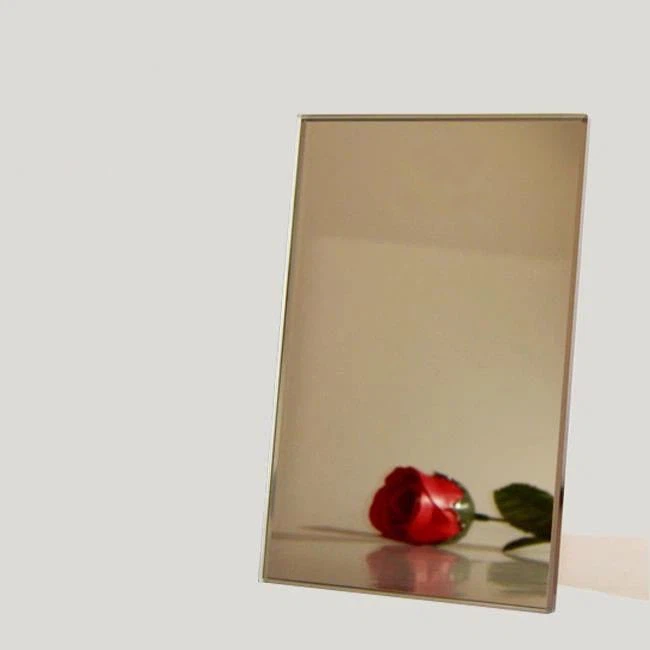
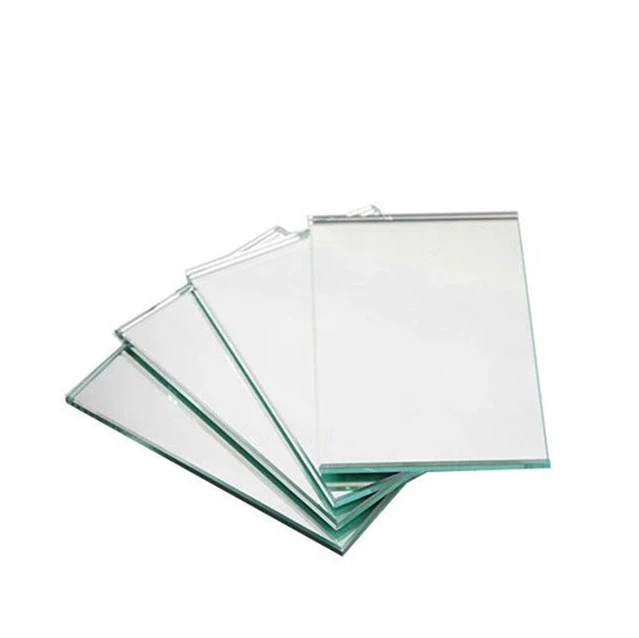
- Silver mirror glass: You can choose from different types of silver mirror glass, such as Bathroom Silver Mirror Glass, Tinted Silver Mirror Glass, or Copper Free Silver Mirror Glass. Make sure to measure the partition accurately to get the right size of glass.
- Adhesive: There are several types of adhesives available for installing mirror glass, such as silicone adhesive or mirror mastic. Choose an adhesive that is suitable for your application and follow the manufacturer's instructions.
- Measuring tape: You'll need a measuring tape to measure the partition and the glass accurately.
- Utility knife: A utility knife will come in handy for cutting the glass and trimming any excess adhesive.
- Safety glasses and gloves: Installing mirror glass can be dangerous, so it's important to wear safety glasses and gloves to protect yourself from cuts and scratches.
- Masking tape: Masking tape can be used to mark the position of the glass on the partition and to hold the glass in place while the adhesive dries.
Step 2: Prepare the Partition
Once you have all the materials and tools, it's time to prepare the partition for the installation. Here's what you need to do:
- Clean the partition: Use a clean, dry cloth to wipe the partition clean and remove any dust, dirt, or debris. Make sure the surface is smooth and free of any bumps or irregularities.
- Mark the position of the glass: Use a measuring tape and a pencil to mark the position of the glass on the partition. Make sure the marks are straight and level.
- Apply masking tape: Apply masking tape along the edges of the marks to protect the partition from any scratches or damage during the installation.
Step 3: Apply the Adhesive
Now that the partition is prepared, it's time to apply the adhesive. Here's how you can do it:
- Read the manufacturer's instructions: Before applying the adhesive, make sure to read the manufacturer's instructions carefully and follow them closely.
- Apply the adhesive to the partition: Using a caulking gun or a putty knife, apply a thin, even layer of adhesive to the partition where the glass will be installed. Make sure to apply the adhesive in a continuous line and avoid any gaps or air bubbles.
- Apply the adhesive to the glass: Apply a thin, even layer of adhesive to the back of the glass where it will be in contact with the partition. Make sure to apply the adhesive in a continuous line and avoid any gaps or air bubbles.
Step 4: Install the Glass
Once the adhesive is applied, it's time to install the glass on the partition. Here's what you need to do:
- Lift the glass carefully: Using a suction cup or a pair of gloves, lift the glass carefully and place it on the partition. Make sure the glass is aligned with the marks on the partition and that it is level.
- Press the glass firmly: Press the glass firmly against the partition to ensure that it is in contact with the adhesive. Use a roller or a squeegee to remove any air bubbles or gaps between the glass and the partition.
- Secure the glass: Use masking tape or clamps to hold the glass in place while the adhesive dries. Make sure the glass is secure and that it does not move or shift.
Step 5: Let the Adhesive Dry
After the glass is installed, it's important to let the adhesive dry completely before removing the masking tape or clamps. The drying time will depend on the type of adhesive you used and the temperature and humidity of the environment. Make sure to follow the manufacturer's instructions and allow enough time for the adhesive to dry.
Step 6: Clean Up
Once the adhesive is dry, it's time to clean up and remove any excess adhesive or masking tape. Here's what you need to do:
- Remove the masking tape: Carefully remove the masking tape from the partition and the glass. Make sure to remove the tape slowly and gently to avoid any damage to the glass or the partition.
- Clean the glass: Use a clean, dry cloth to wipe the glass clean and remove any fingerprints or smudges. You can also use a glass cleaner to clean the glass if necessary.
- Trim any excess adhesive: Use a utility knife to trim any excess adhesive from the edges of the glass and the partition. Make sure to trim the adhesive carefully and avoid any damage to the glass or the partition.
Step 7: Inspect the Installation
After the installation is complete, it's important to inspect the glass and the partition to make sure everything is in place and that there are no issues. Here's what you need to do:
- Check the alignment: Make sure the glass is aligned with the marks on the partition and that it is level. If the glass is not aligned or level, you may need to adjust it or remove it and reinstall it.
- Check for air bubbles or gaps: Look for any air bubbles or gaps between the glass and the partition. If you find any air bubbles or gaps, you may need to use a roller or a squeegee to remove them.
- Check for scratches or damage: Inspect the glass and the partition for any scratches or damage. If you find any scratches or damage, you may need to replace the glass or repair the partition.
Conclusion
Installing silver mirror glass on a partition is a relatively simple process that can be done by anyone with basic DIY skills. By following the steps outlined in this blog, you can install silver mirror glass on your partition and transform your space into a beautiful and elegant area. If you have any questions or need further assistance, please don't hesitate to contact us. We're here to help you with all your silver mirror glass needs.
References
- Manufacturer's instructions for the adhesive and the silver mirror glass.
- DIY home improvement guides and tutorials.
